Painting
Instead of spending the day setting off fire crackers and eating burgers, I spent my July 4th painting my home office and hallway. Painting is a lot harder than I originally envisioned when I planned my home renovations. After spending hours painting a few rooms, I want to share everything I've learned about painting and how to make your rooms have beautiful walls. These are mostly notes for myself so bear with me if my writing is an incoherent jumbled mess.
Here are the colors I'm using to paint my house if you're curious:
Why Paint? 
Why did I paint? Weren't my walls already painted? What was the purpose?
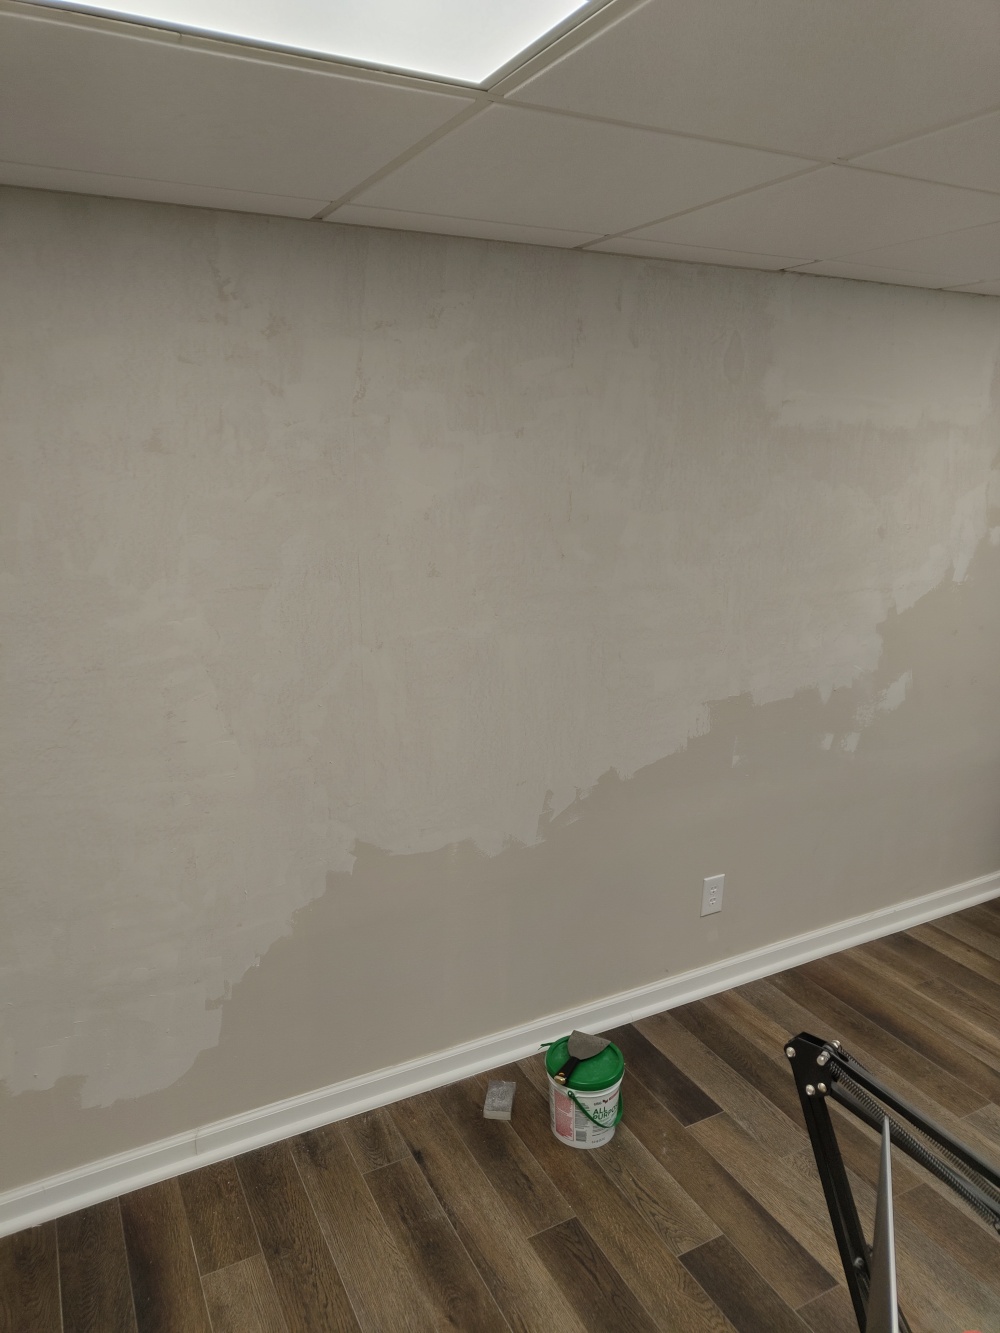
The primary motivating factor for me was that I had textured walls. If you've ever had to live with textured walls, they're awful. They look atrocious and feel grainy and it's hard to hang anything up on them. I wanted to make my walls as perfectly smooth as possible and the only way to do that (other than re-drywalling my walls) was to patch my walls then paint over the mud.
The second reason was that I didn't like the color of the walls. Most of the walls in my house sport a beige-like brown color that feels old and dreary. I wanted the house to feel aesthetic and warm.
If I wasn't interested in aesthetic value, there's also a financial incentive to painting: painting your house can potentially increase your property value by 10-20%!
What Kind of Paint Should I Use? 
Did you know that there are different kinds of paint? Depending on the situation, you may want to use a certain kind of paint to prevent further problems down the road. For example, you'll want to use a glossier paint for high-traffic areas, or a glossier paint for more humid condensating rooms such as bathrooms or shower walls. The higher the sheen, the more durable the paint but the less forgiving it is for uneven painting or paint touchups. Additionally, a higher sheen paint is much easier to clean. Here is a scale of paint sheen and generally where you should use each kind of paint:
| Gloss Level | Use Case |
|---|---|
| Flat | Exterior walls |
| Matte | Interior walls |
| Eggshell | Interior walls |
| Satin | High traffic areas (hallways) |
| Semi-Gloss | Kitchens, trims |
| Gloss | Bathrooms |
How to Paint a Wall 
Ok, you to paint your rooms. Where do you start?
You can't just buy a can of paint and brush away. There's a lot of wall prep work involved. The better you prep your walls, the better your walls will look in the end.
Let me repeat that again: the better you prep your walls, the better your walls will look in the end.
I'm going to repeat it a third time to emphasize just how important this is: the better you prep your walls, the better your walls will look in the end.
There were many times I thought "I can probably skip this step because I'm tired and want to take a break." Every time I skipped a step or stopped being thorough with my prep, my walls suffered from an uneven texturing, an uneven paint job, or an unsatisfying finish.
If you want perfect walls, you need to spend a ton of time prepping your walls. As Jeff Thorman says, "Paint only puts lipstick on the pig, and if you don't want to be painting a pig, fix the wall."
Below I'll list my rough step-by-step process for painting a room.
1. Clear 
First, clear the walls. Remove all nails, screws, and light fixtures hanging on the wall. Don't forget to remove outlet and wall plates because there's nothing worse than seeing a room with a paint all over the light switch wall plates. If you try to ignore this step and paint around objects, you'll see two paint colors all over your wall from certain angles and you'll never be able to take things off the wall.
If you want to keep nails in the wall for hanging up something after painting, you can leave the nail in the wall as a reminder of where the holes are so you don't have to guess later.
It's a good idea to remove all furniture from the room too if you don't want to get paint on them.
2. Repair 
Next, repair the walls. Patch any drywall nail holes, scrapes, raised edges, and bruises. Any deformity left unfixed will make its way into the final wall. In this step you'll also want to redo your caulking for your trims if applicable. You can also attach your trims after painting a wall but that generally assumes you're painting a brand new room from scratch.
3. Sand (Coarse) 
Sand the walls to remove any lumps or bumps. I recommend a slightly coarser grit like 100 or 120. When you finish sanding, you should be able to drag your hand across the wall and it should feel perfectly smooth.
It's perfectly fine if your walls now have a bunch of putty patch marks or black scrape marks from a putty knife or scraping off old paint drips. Remember, we're here to paint the wall, so it doesn't matter how the wall looks, it just matters how the wall feels.
4. Clean 
After sanding, we want to clean the walls. Start with the top of the walls and sweep or vacuum the dust off the wall and brush downwards. It's ok to get dust all over the ground because it can be cleaned later. If you leave the dust on the wall, the dust will mix with the paint and leave hardened chunks in the wall which will make the painting process much more tedious.
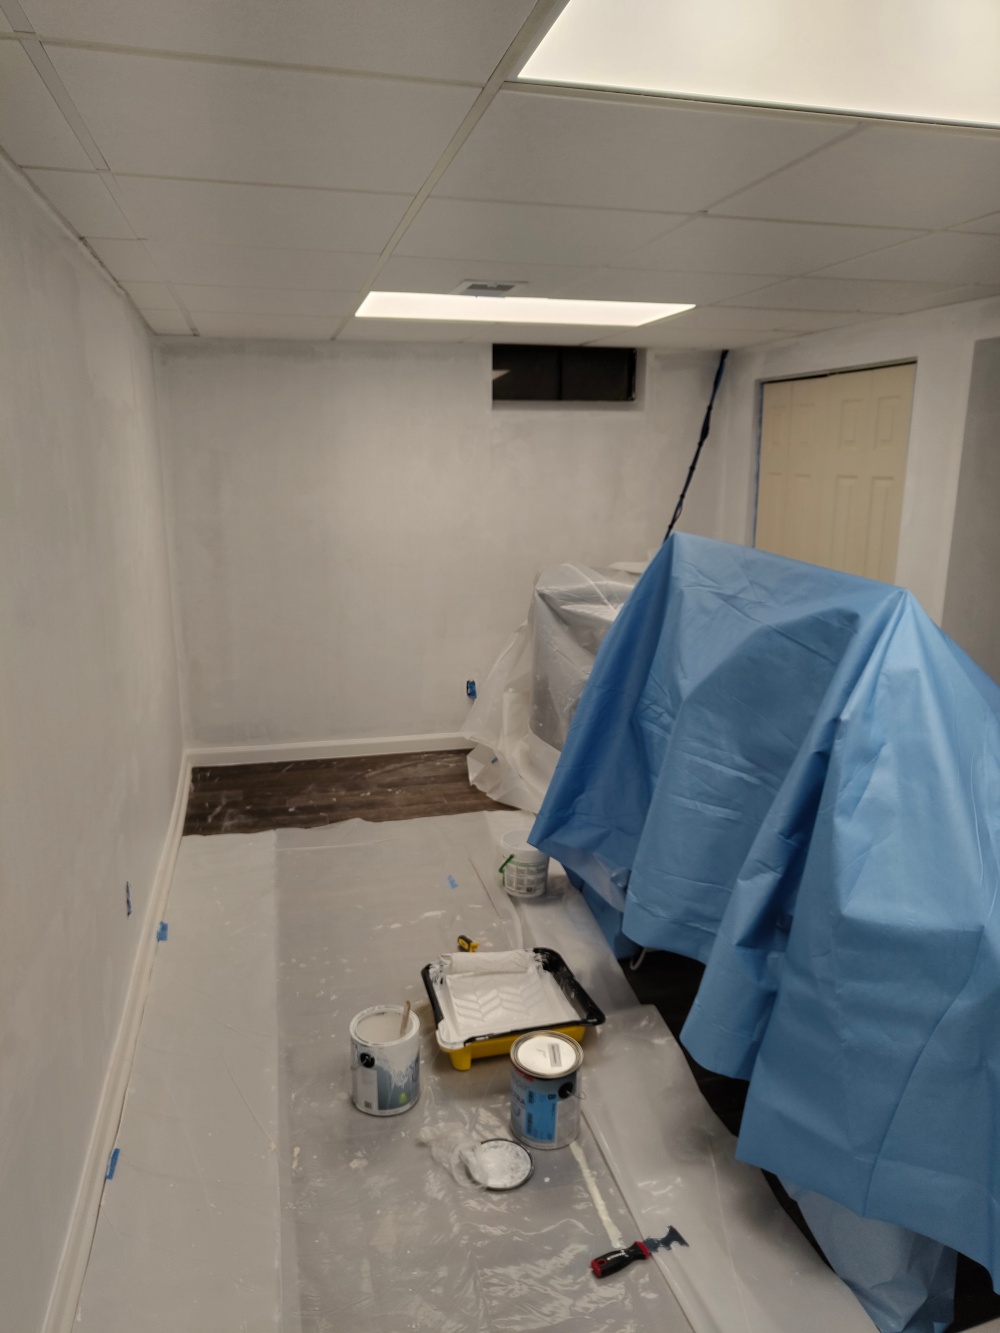
5. Prime 
Finally we can start painting primer! To paint, use an angled brush to frame the edges of the wall. This is called cutting the wall. Once you've properly cut, you can use a roller and roll paint in a W-shaped motion to spread the paint evenly across the wall.
There's a lot of discourse online about whether you need to use primer or not for your walls but the safest answer is that there's no downside to priming a wall. Priming a wall allows new walls, wood, and other materials to soak in paint and helps the final paint to become more adhesive to the surface. It also makes painting lighter shades of paint on dark walls easy and prevents flashing, where putty shows up through the final coat of paint. Please prime your walls. It's much safer to spend a bit more money to prime a wall than to cut corners paint, then see that your paint job is peeling or uneven. I think it's also acceptable to use paint/primer combinations but a separate primer is ideal so you can paint less coats overall.
6. Sand (Fine) 
Once the primer has dried, sand your walls! Paint tends to pick up dust and other solids while you move the roller across the walls. It's only natural that some of those chunks will remain on the wall. If you don't sand those down in between each coat of paint, you'll end up with bumps or lumps. Set a reminder for yourself to sand in between coats - it's terribly easy to forget when you're painting in the moment. For sanding a painted or primed wall I recommend a finer grit like 150 or 180.
7. Paint (1st Coat) 
Finally we can begin painting the color of our choice. It's ok if the paint is slightly splotchy or transparent: this is only the first coat of paint.
8. Sand (Fine) 
After the initial coat has dried, sand your walls again!
9. Paint (2nd Coat) 
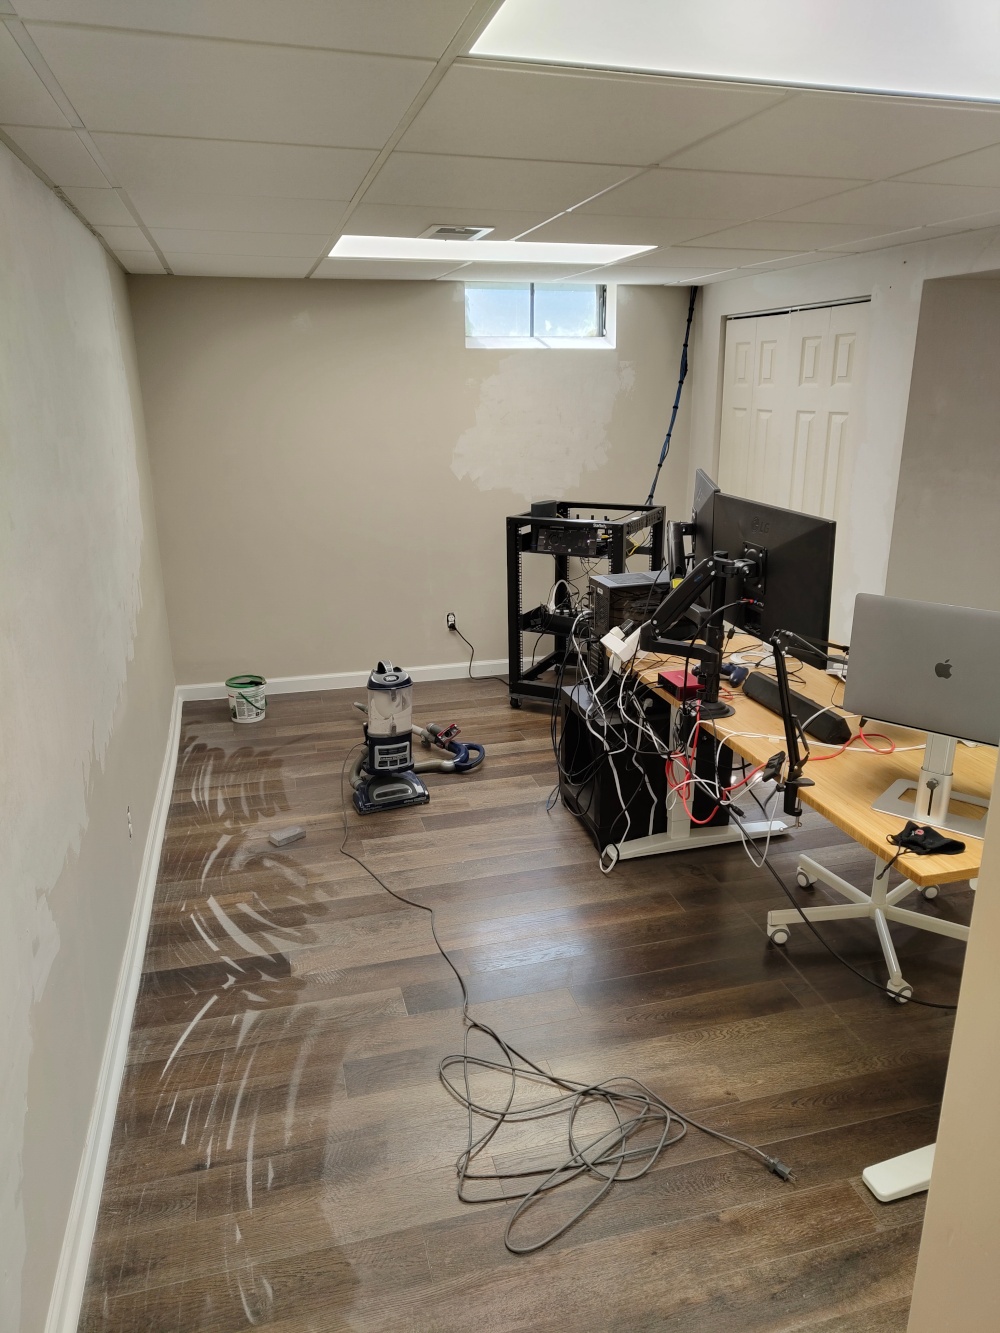
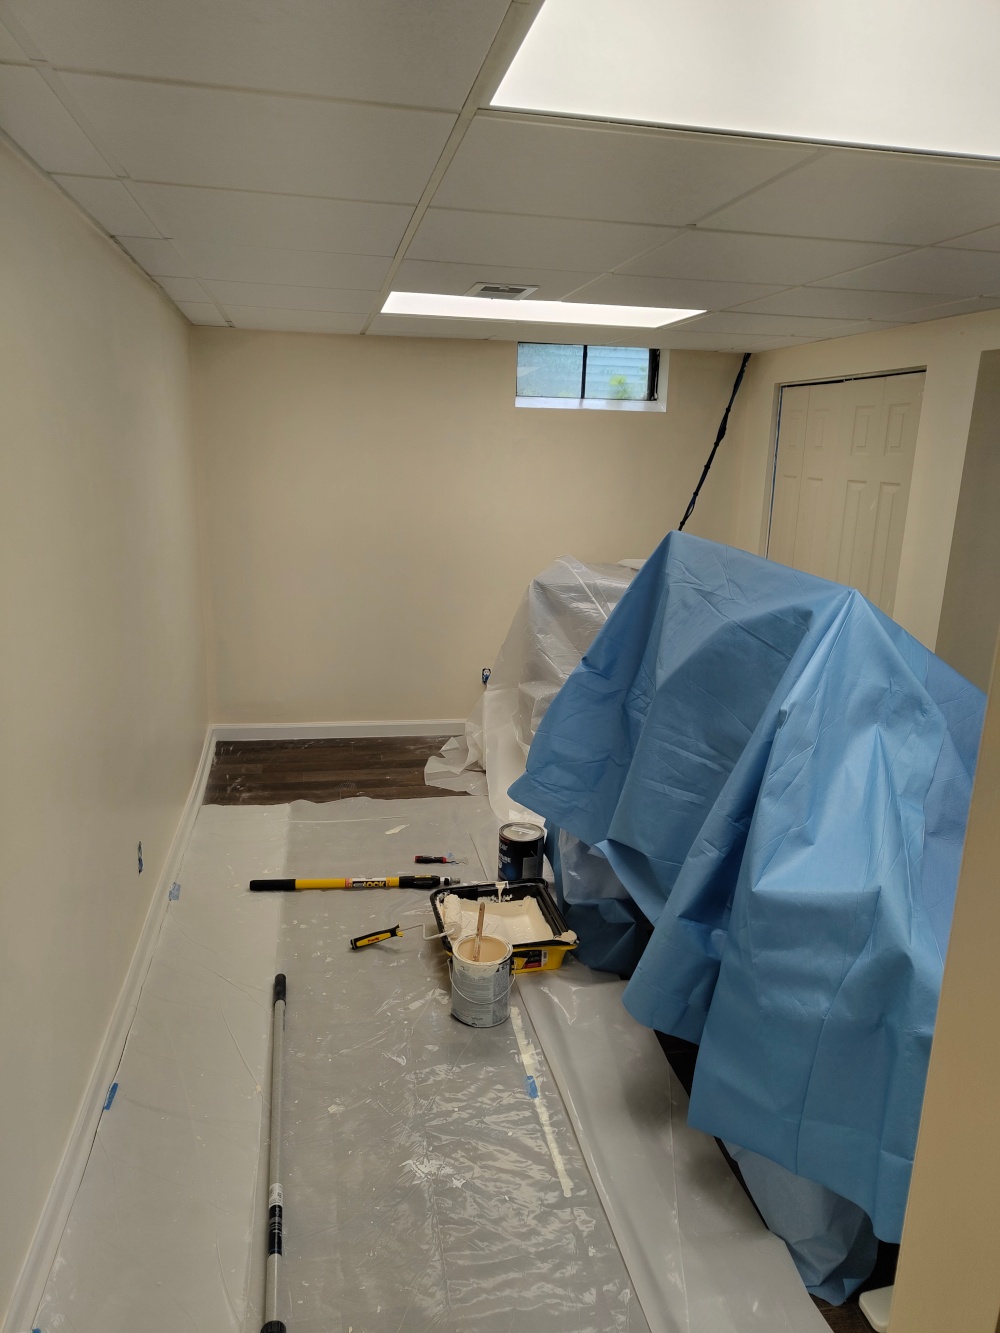
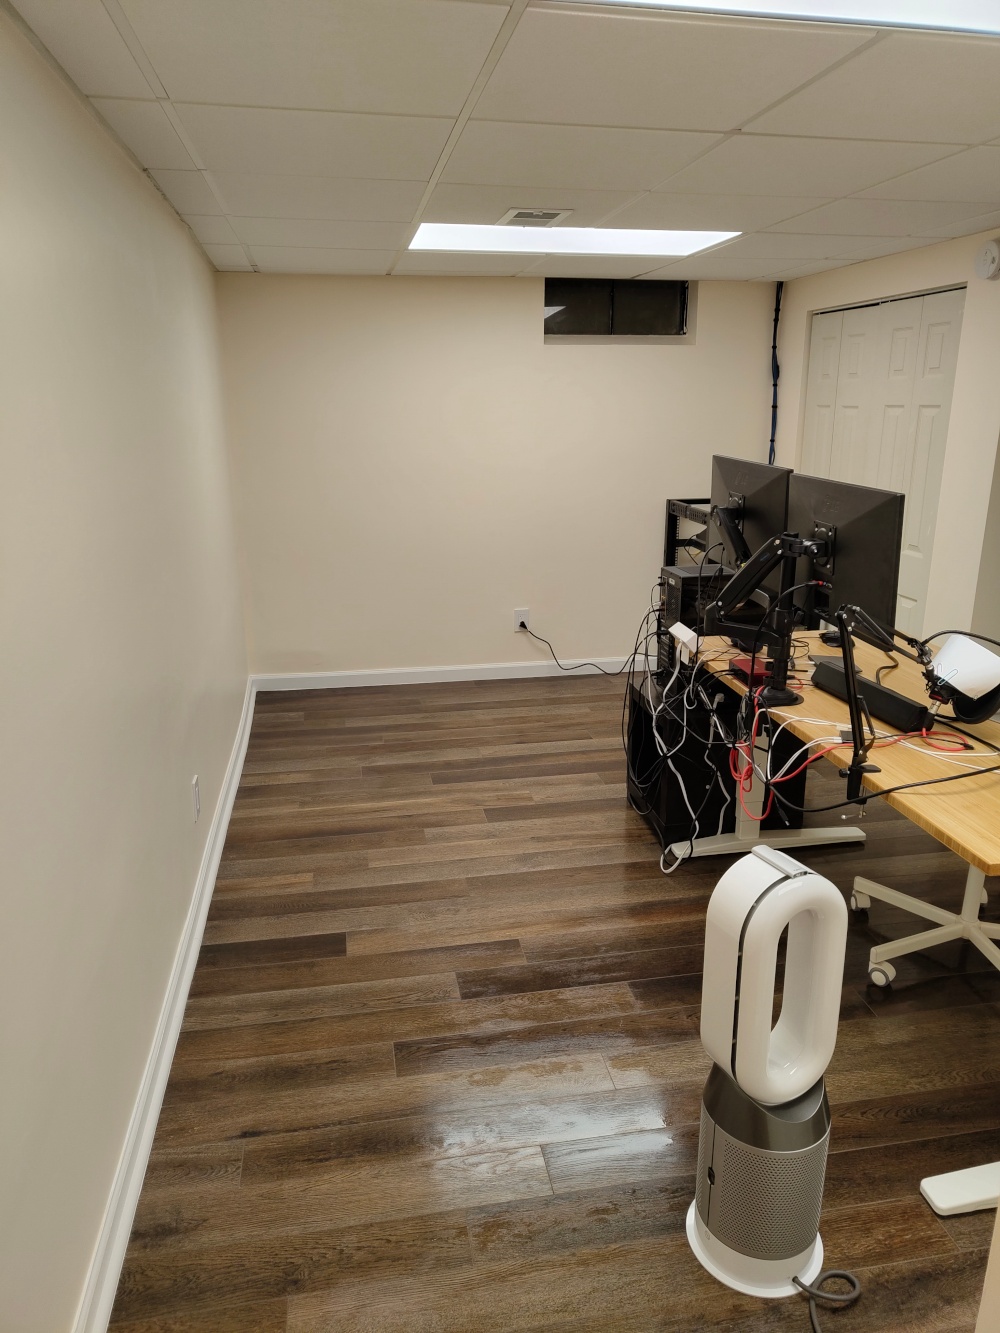
This is the final coat of paint. Be thorough and try to spread your paint as evenly as possible. Once this dries, this is what your walls will look like.
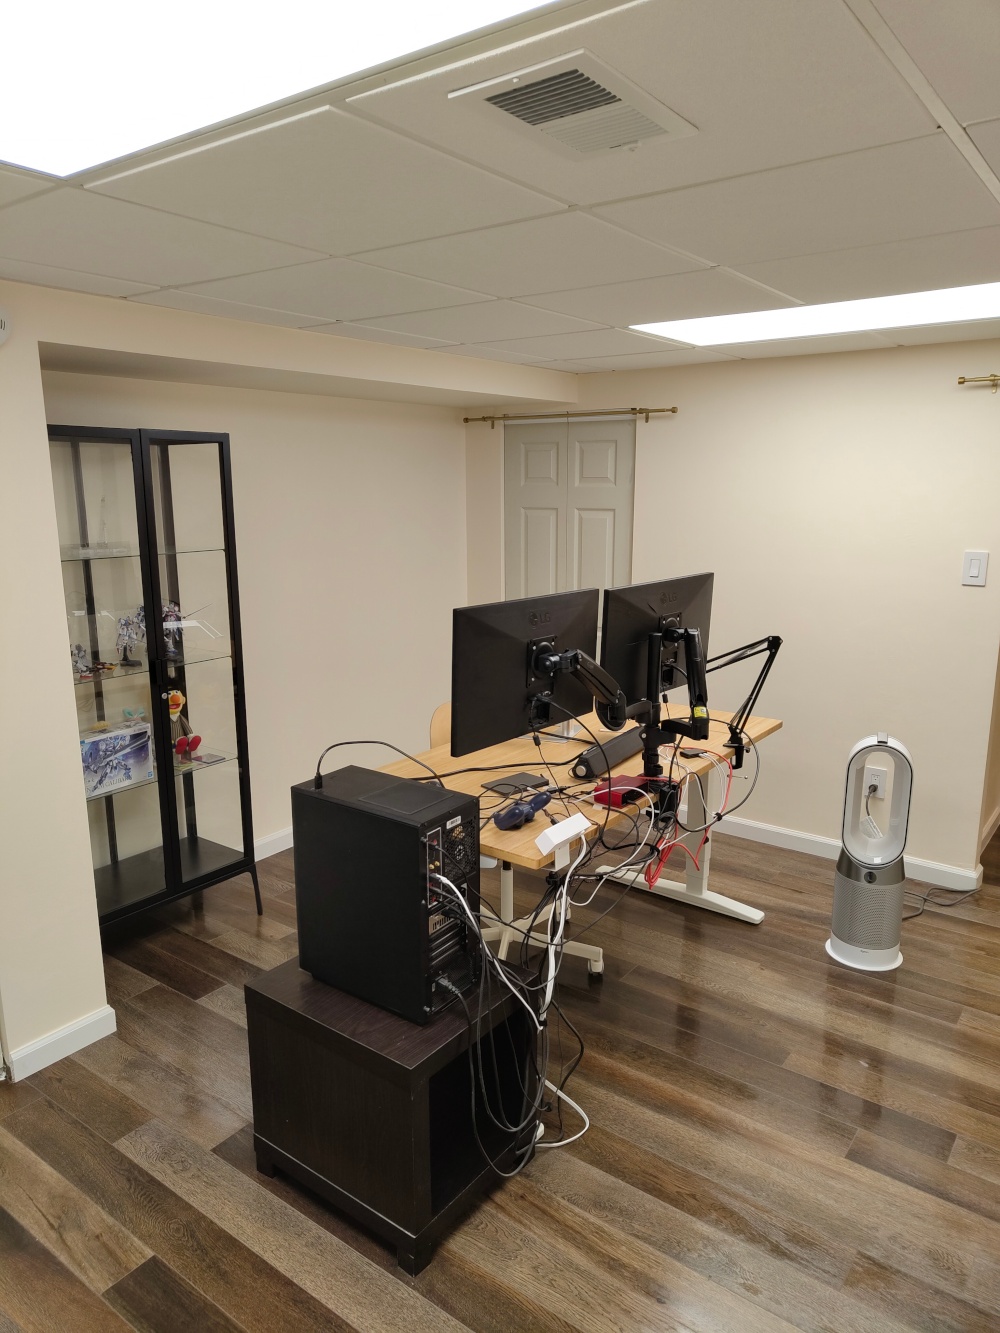
Here's another picture of the other side. I should organize my desk cables and display case.
Painting Tools 
Here are some tools I recommend using while painting. These tools made my life much easier.
- Any angled 2.5" soft nylon brush. Having an angled brush makes cutting much easier, especially with corners. Make sure to wash your brush very thoroughly afterwards! You should always keep your brushes and rollers very clean after painting to ensure you can continue to use them in the future.
- Microfiber rollers. If you get any other kind of roller you're going to run into issues with the roller tearing itself apart and leaving bits of cloth and roller all over the walls. It's ugly.
- A "power-locking" extension pole. First of all, painting without a pole is exhausting. When I painted my hallway I didn't use a pole and my arms were shaking afterwards. It's surprising how much work the pole will do for you. Make sure you also get a locking pole. Stores sell a lot of extension poles that use screw locking but it's really hard to paint and keep the pole from unscrewing. You need to get a locking pole that clicks the roller (or sander) into place.
- A paint multi-tool. This is essential for opening cans and getting excess paint out of your rollers. You will save so much money on paint by scraping the paint out of your rollers back into the can.
- Spare empty paint cans. These are extremely useful for filling with a small amount of paint just for cutting the wall. It's exhausting to try and carry an entire can of paint just to cut, not to mention the risk of dropping the can and spilling paint everywhere.
Resources 
If you're struggling through house renovations like me, check out my home renovation page! I'm accumulating useful resources and tutorials that helped me with my first renovations and putting them all in one place for myself (and others) to use in the future.