How to Host a Samba Server
I've recently come to realize just how incredibly useful hosting a Samba server at home can be. If you have terabytes of files you want to share across Windows, Unix, and MacOS, Samba might be a perfect solution for you. This is a tutorial on how to get a Samba server up and running on your local network.
What is Samba? 
Long story short, Samba is a file server that uses the SMB protocol.
What can Samba do for me? 
If you frequently switch between Windows, MacOS, and Unix systems, you'll find value in hosting your own Samba server. Samba means you can transfer files between all the computers on your network natively without having to first move the files to Google Drive or a USB drive. All files are automatically synced between locations. It saves so much time and makes the files extremely easy to access. Most of all, it keeps you in control of your files so you can keep them saved offline and secure - away from hackers and big tech.
On Windows, a Samba share can accessed as a mounted network drive.

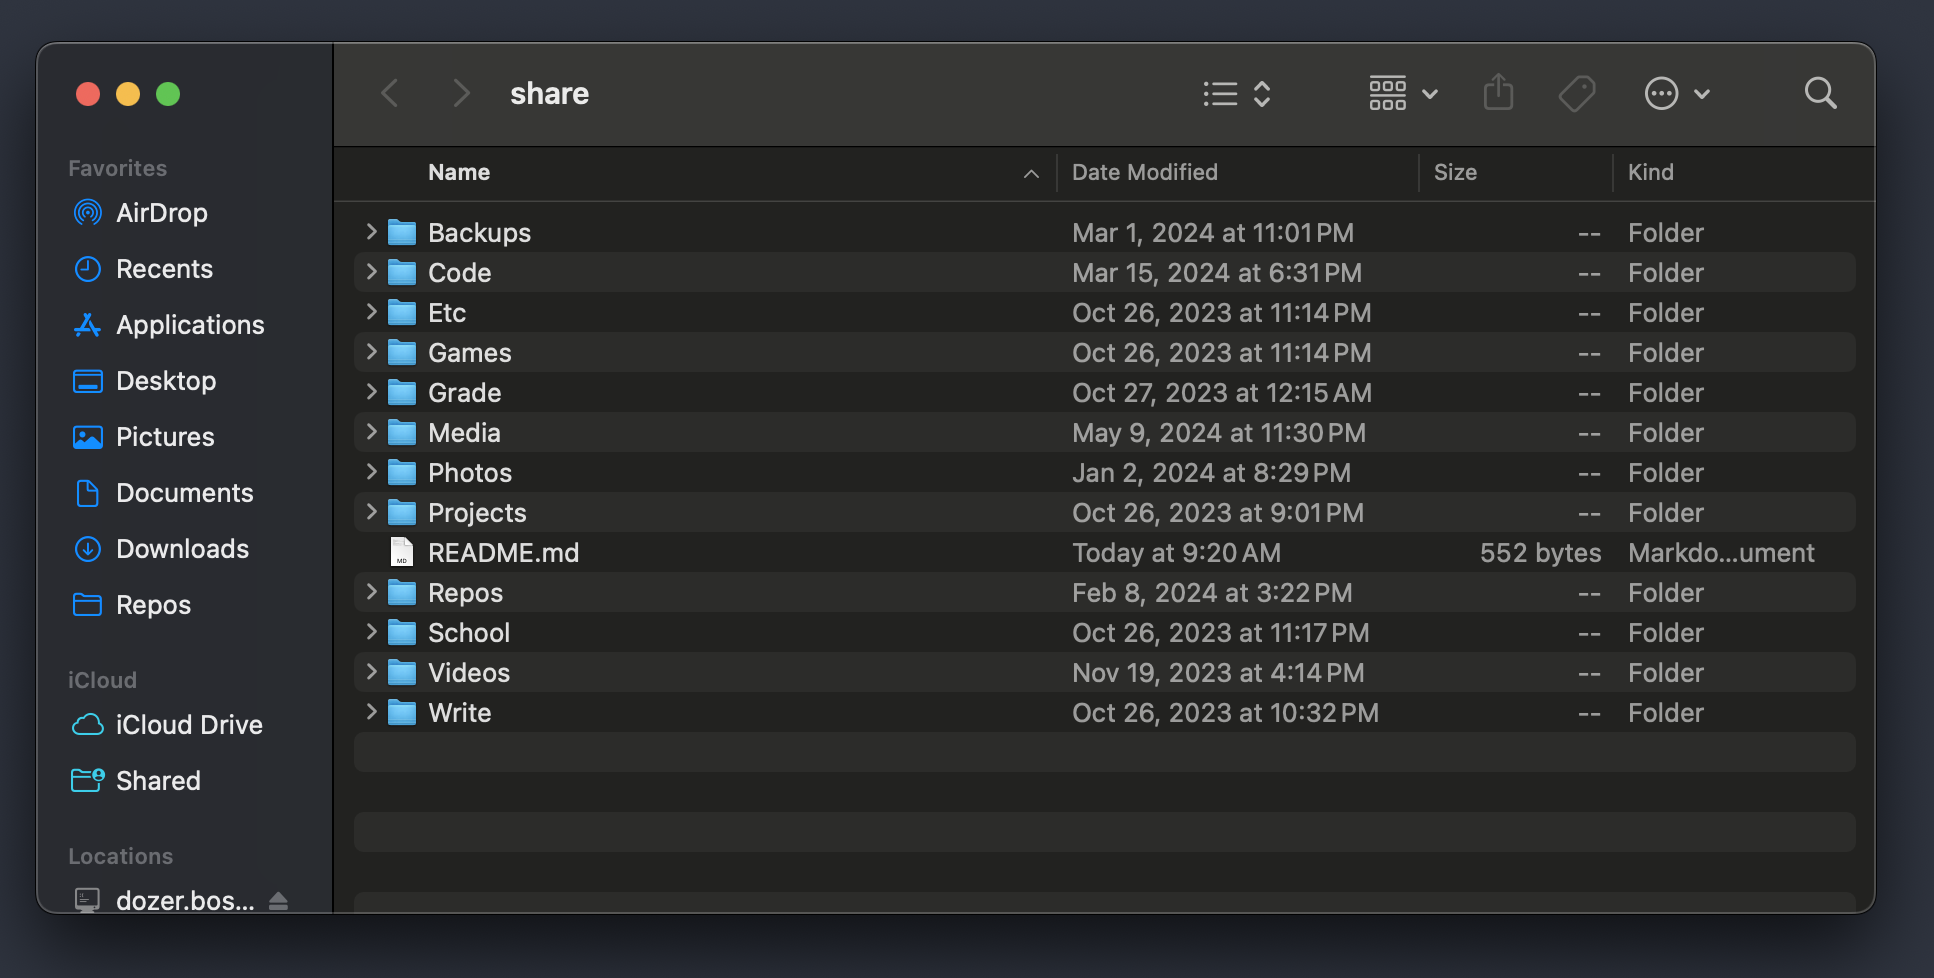
On MacOS, a Samba share can be accessed from Finder.
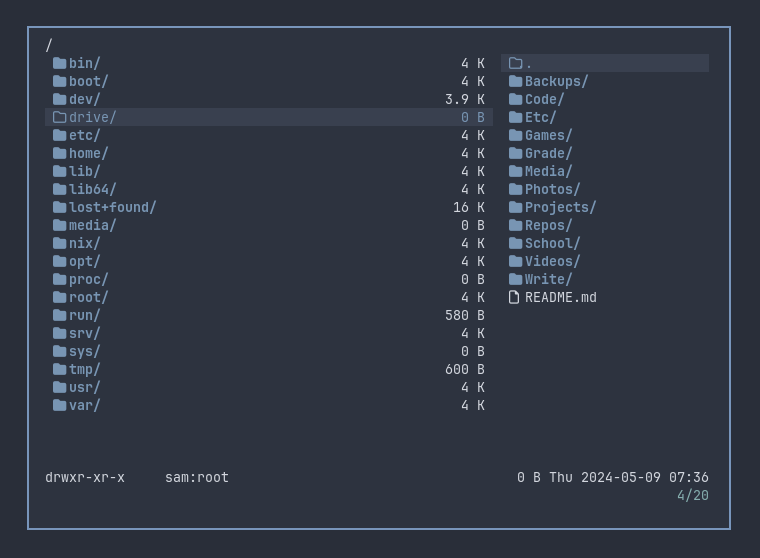
On Linux, a Samba share can be directly mounted as an entry in /etc/fstab, where
USERIDis your current user ID//192.168.0.100/shareis your Samba share address/driveis your destination folder/path/to/credsis a file containinguser=USERNAMEandpassword=PASSWORDon separate lines
//192.168.0.100/share /drive cifs x-systemd.automount,noauto,x-systemd.idle-timeout=60,x-systemd.device-timeout=5s,x-systemd.mount-timeout=5s,uid=USERID,file_mode=0664,credentials=/path/to/creds 0 0
# or this if you're not using systemd
//192.168.0.100/share /drive cifs uid=USERID,file_mode=0664,credentials=/path/to/creds,iocharset=utf8,nosuid,noatime,noexec 0 0
I don't even have to do anything to share my files. I can modify them on one computer and they're immediately available on my other computers. Because the drive is hosted separately, you could have hundreds of terabytes of storage and never worry about running out of storage space.
Getting Started 
To get set up, you will first need a storage server to host this on. I will leave this as a task for the reader. I recommend a NAS in this regard. I'll be running this in a TrueNAS FreeBSD jail so your mileage may vary.
Install the latest version of Samba. You can either download the package from a package manager or build Samba from source. I am using version 4.19.5.
pkg install samba419
smbd --version
If you're running FreeBSD, there are a few system changes to make to increase performance and allow Samba to open more files. In /etc/sysctl.conf:
kern.maxfiles=25600
kern.maxfilesperproc=16384
net.inet.tcp.sendspace=65536
net.inet.tcp.recvspace=65536
And in /boot/loader.conf:
aio_load="YES"
Additionally, you need to make sure to give the jail access to fdescfs:
iocage stop JAILNAME
iocage set mount_fdescfs=1 JAILNAME
iocage start JAILNAME
Make sure to reboot the system after these changes. I would also recommend mounting /srv/ as a separate dataset as this is where we will store all user files.
Configuration 
All configuration in Samba is done through a smb.conf file which is usually located at /etc/smb.conf. On FreeBSD this file is located at /usr/local/etc/smb4.conf. Create this file and type the following configuration:
[global]
    server min protocol = SMB3_11
    smb encrypt = required
    security = user
    server role = standalone server
    invalid users = root
    map to guest = never
    restrict anonymous = 2

[user]
    path = /srv/samba/users/%U
    public = no
    writable = yes
    valid users = %U

[media]
    path = /srv/samba/media
    public = no
    read only = yes
    write list = sam

[family]
    path = /srv/samba/family
    public = no
    writable = yes
    valid users = +family
Let's explain what this all means. First, we declare a global section which pertains to global server settings. We declare that the minimum SMB client version must be SMB3.11 because anything less is insecure. Then, since we're using SMB3.11, we can enable encryption for better security. We also want to ensure neither root nor guests can log into samba as guests often pose a threat to security.
Next, our user section declares a separate user share for every user we want to create. Each user share can only be accessed by that user. This is the only share you need for personal file sharing.
We also have a media section which creates a share writeable by one user but read only for other users. I've made sam the only user that can write to this share. It's particularly useful if you want to share files with people without allowing them to modify the files.
Finally, we have a family share which is readable and writeable by all users under the "family" group. I find this share extremely useful for sharing family documents without other users seeing them.
You can run
testparmas a sanity check to validate your Samba configuration.
Creating Users, Folders, and Permissions 
The next step is to prepare the directories in which the shares will be hosted.
mkdir /srv/samba
chmod 777 /srv/samba

mkdir /srv/samba/users
chmod 777 /srv/samba/users

pw group add family
mkdir /srv/samba/family
chgrp family /srv/samba/family
chmod ug+w /srv/samba/family

mkdir /srv/samba/media
Now let's create a user for the media share.
pw useradd -G family -b /srv/samba/users -m -n sam
rm /srv/samba/users/sam/.* # remove generated files
# set your login and Samba password
smbpasswd -a sam
passwd sam
chown sam /srv/samba/media
The reason we set the login password is to allow access with SSH. If you don't plan on enabling SSH access, you should create the user without a login shell (-s /sbin/nologin).
Now we can start the service.
sysrc samba_server_enable=YES
service samba_server start
You can now test to see if you can connect to the Samba server with username sam and the password you provided earlier. You should be able to connect to all three shares (/user, /media, and /family).
That's all! You now have a functioning Samba server!
FAQ 
How do I change my password?
You can change your password using the provided user utilities. Note that you need to change both your Samba password and your login password if you plan on logging into your account with SSH or SFTP without a pubkey.
smbpasswd sam
passwd sam
Can I share my Samba shares over the internet?
NO. I can't stress this enough. While it's physically possible to make shares available over the internet, it poses a huge security risk to your files and home network. Samba has a history of compromising vulnerabilities when shared over the internet and attackers tend to sniff for these ports. It's an accident waiting to happen.
If you still want to access your files over internet, I recommend accessing files using SFTP. It's reliable and is easy to access files per user since each user's home directory is their Samba share.
Bonus: SFTP 
If you want to be able to access your files outside your local network, you can use SFTP via SSH. It's quite simple to set up.
Edit /etc/ssh/sshd_config and add the following options:
Port 24 # change the default port to 24 to significantly reduce sniffing
PermitRootLogin no # optional, if you don't need to log into root on the machine
If you'd like to optionally use pubkey authentication, you can disable password authentication for better security.
# add "PasswordAuthentication no" to /etc/ssh/sshd_config
mkdir -p ~/.ssh
wget -O ~/.ssh/authorized_keys https://my.keys.url
pw usermod -n sam -w none # reset login password to unset
service sshd enable
service sshd start
You can now login with SFTP through port 22.
Resources 
Here are some resources I used when writing up this guide.